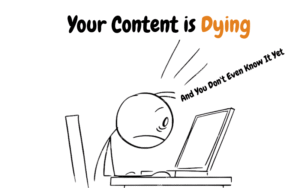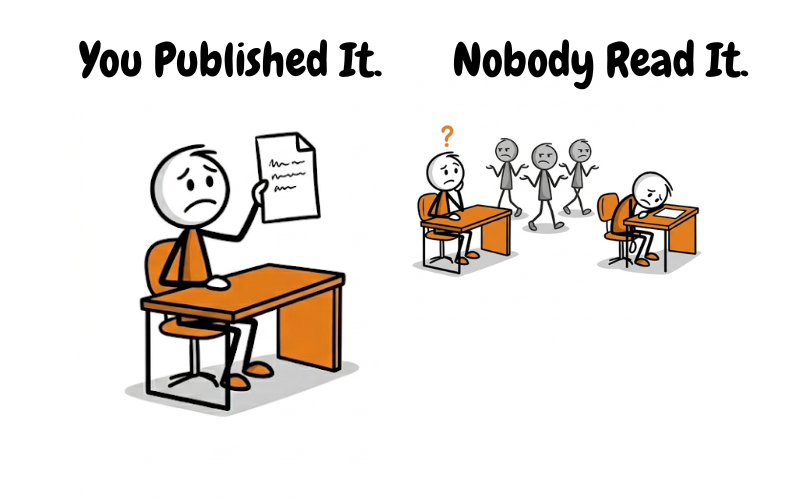
You spent two hours writing an article.
You checked the grammar. You added headings. You hit publish.
And then nothing.
No shares. No comments. No traffic. People open it and leave in seconds.
You start wondering if your writing is just not good enough.
But that’s usually not the real problem.
The real problem is that you’re writing in the wrong order.
Most people write content the way they were taught to write essays in school.
Introduction. Body. Conclusion. Top to bottom.
That works for exams. It doesn’t work for the internet.
On the internet, people don’t read from top to bottom. They scan. They scroll. They decide in three seconds whether to stay or leave.
If your writing isn’t built for how people actually read online — it doesn’t matter how good your information is.
Nobody stays long enough to find out.
This post is going to show you the exact order professionals use to write content that actually gets read. Four steps. Each one with something you can implement right now.
Step 1: Research the Reader Before You Research the Topic
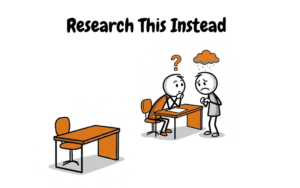
Here is the mistake almost every beginner makes.
They get a topic. They Google it. They read a few articles. They start writing.
The topic is covered. But the reader is never thought about.
And that’s why the content feels like it could be for anyone — which means it feels like it’s for no one.
Before you research the topic, research the person reading it.
What are they struggling with right now? What have they already tried? What do they type into Google at 11pm when they’re frustrated and looking for an answer?
When you know that, your writing changes completely.
You stop explaining things in general. You start speaking to one specific person’s specific situation.
And that person reads the whole thing. Because it finally feels like it was written for them.
We went deep on how to do this research in the post on questions beginners are afraid to ask. The short version: go where your audience already talks. Reviews. Forums. Social comments. Read what they write in their own words.
✏️ Do this: Before your next piece, spend 15 minutes reading reviews or forum posts from real people in your niche. Write down 5 phrases they use to describe their frustration. Use those exact phrases in your content. The reader will feel like you’re inside their head.
Step 2: Write in the Right Order — Headline First, Body Last
This is the single biggest shift you can make in how you approach writing.
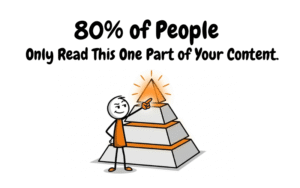
80% of people who see your content will only read the headline.
Only 20% will click and read further.
That means the headline is doing more work than everything else you write combined.
Yet most writers spend 10 minutes on the headline and two hours on the body.
Flip that.
Here is the order that actually matters:
1. The Headline — Write 10, Use 1
A strong headline can increase traffic to a piece by 500%. A weak one means almost nobody ever reads what you wrote.
It is also what Google weighs most heavily when deciding where to rank your content.
Don’t write one headline and move on. Write 10. Different angles. Different emotions. Different promises.
Then pick the one that makes you want to click it yourself.
✏️ Do this: Write your topic at the top of a page. Now write 10 headlines for it. Don’t stop at 3 or 5. Push to 10. Your best headline is almost never your first one. Read them back and pick the one that feels impossible to ignore.
2. The Introduction — Hook in 7 Seconds or Lose Them
Once someone clicks your headline, you have 7 to 8 seconds before they decide to stay or leave.
The worst thing you can do in those seconds is warm up slowly.
Don’t say what the article is about. Don’t welcome the reader. Don’t write a long background.
Say the most true, specific thing about the reader’s situation. Make them feel seen in the very first sentence.
When someone reads a first line and thinks “that’s exactly me” — they stay.
That’s the only job of the introduction.
✏️ Do this: Look at the first sentence of your last piece of writing. Ask yourself honestly: does this make someone want to read the second sentence? If not, rewrite it. Start with the reader’s problem — not your explanation of what you’re about to say.
3. The Conclusion — More People Read This Than You Think
A lot of readers scroll straight to the bottom of an article before deciding whether to read the whole thing.
They want to know: does this article actually deliver on what the headline promised?
Your conclusion is not a summary. It’s the moment you land the plane. One clear feeling, one clear action, one thing they walk away with.
Make it worth scrolling to.
✏️ Do this: Write your conclusion before you write the body. Yes, before. Once you know how the piece ends, the body almost writes itself. Try it once and you’ll see how much cleaner the whole piece becomes.
4. The Body — Write This Last, Make It Easy to Scan
Once the headline, introduction, and conclusion are done — the body just needs to be clear and easy to read.
Online readers don’t read line by line. They scan.
They look for the next subheading. The next short paragraph. The next place their eye can land.
Short sentences. White space between paragraphs. Subheadings that tell the reader what’s coming. Bullet points only when a list genuinely makes things clearer.
A wall of text scares people off before they’ve read a word. Break it up. Give the eye room to breathe.
✏️ Do this: Take any piece you’ve written. Remove every sentence that doesn’t directly help the reader. You’ll probably cut 20 to 30%. Read what’s left. It’s sharper. That sharpness is what keeps people reading.
Step 3: Know What the Format Demands — Then Give It Exactly That
Every format has rules. Break them and the content fails.
Not because the writing was bad — but because the format wasn’t respected.
We covered all the main formats in detail in the post on content formats businesses pay for. Here’s what the rules mean in practice for the formats you’ll write most.
Blogs — Take the Reader on a Journey
A blog is not a list of information. It’s a journey from the reader’s problem to a clear solution.
The tone is human. The structure is clear. The reader should leave feeling closer to their goal than when they arrived.
✏️ Do this: Before writing your next blog, finish this sentence: “My reader arrives with this problem: ___. They leave with this: ___.” If you can’t complete both blanks, you’re not ready to write the blog yet.
Press Releases — Answer 5 Questions, Nothing More
A press release answers: When, Where, What, Why, and Who.
Third person. Dateline at the top. Press contact at the bottom.
It reads like news. The moment it starts sounding like marketing, journalists bin it.
✏️ Do this: Find a press release from any major brand. Read it and identify where each of the 5 W’s appears. Now write a fictional press release for a product you’d love to launch. Match the structure exactly.
White Papers — Cite Everything, Sell Nothing
Every claim in a white paper needs a source and a link. That’s not optional. It’s what makes it credible.
The moment it starts reading like a sales pitch, it stops being a white paper.
Use storytelling to make the data readable. Dry data without a narrative loses people fast.
Emails — Subject Line First, Body Second
If the subject line doesn’t earn the open, nothing else matters.
One message. One CTA. End with a human sign-off, not a corporate one.
“Talk soon” feels like a person. “Regards, The Team” does not.
✏️ Do this: Write 5 subject lines for the same email. Read them back. Which one would you open at 8am on a Monday? That’s your subject line.
Case Studies — Lead With the Result, Not the Story
Most writers structure case studies as: problem → process → result.
Flip it. Lead with the result in the headline. Use a number.
“How we grew this client’s traffic by 312% in 90 days” is more compelling than “A content strategy case study.”
Show the result early. The reader already knows it worked. Now they want to know how.
Product Descriptions — Benefits First, Features Second
A feature tells people what something is. A benefit tells them what it does for their life.
“2000mAh battery” is a feature. “Lasts two full days on a single charge” is a benefit.
Write the benefit first. Then explain the feature that makes it possible.
✏️ Do this: Take any product you own. Write one line describing a feature. Now write one line describing the benefit of that feature for a real person. Read both out loud. You’ll instantly feel which one sells.
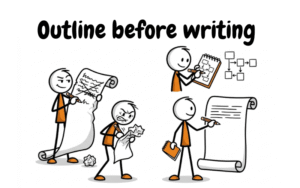
Step 4: Build the Outline Before You Open a Blank Page
The blank page is not your enemy.
Starting without a plan is.
An outline is just a map. It takes five minutes to build and saves you from writing yourself into a corner halfway through.
Here is what a basic outline looks like:
Headline — finalised.
Introduction — one sentence describing the hook.
3 to 5 main sections — each one a subheading with one line explaining what it covers.
Conclusion — what the reader feels or does when they finish.
That’s it. You don’t need a perfect outline. You need one that’s good enough to start.
Once you have it, use the tools we covered in the post on free tools to start writing — Google Docs to write, Hemingway App to check readability, Canva to present the final piece.
And use the thinking we covered in the post on 5 questions to ask before writing anything — who you’re writing for, why this piece exists, where it lives, when it’s published, what format it needs.
The outline is where all of that thinking becomes a plan.
The plan is what turns a blank page into a finished piece.
✏️ Do this: Right now, pick a topic you’ve been putting off. Build the outline in 5 minutes. Headline, hook, 3 sections, conclusion. Don’t write the full piece yet. Just the map. Read it back. If it flows, you’re ready to write. If something feels missing, fix it now — not halfway through the article.
The Short Version
Step 1: Research the reader before the topic.
Step 2: Write headline first, body last.
Step 3: Know the rules of your format and follow them.
Step 4: Build the outline before you open a blank page.
That’s the whole process.
It doesn’t require experience. It doesn’t require talent. It requires the discipline to do things in the right order.
Every piece of content you write from this point, apply these four steps.
The difference will show up fast.
And if you want to go deeper on any of these ideas — the post on 5 hacks that make your content better has five specific things you can do inside any project to make your writing more effective immediately.
— Hema Varman